Assembly
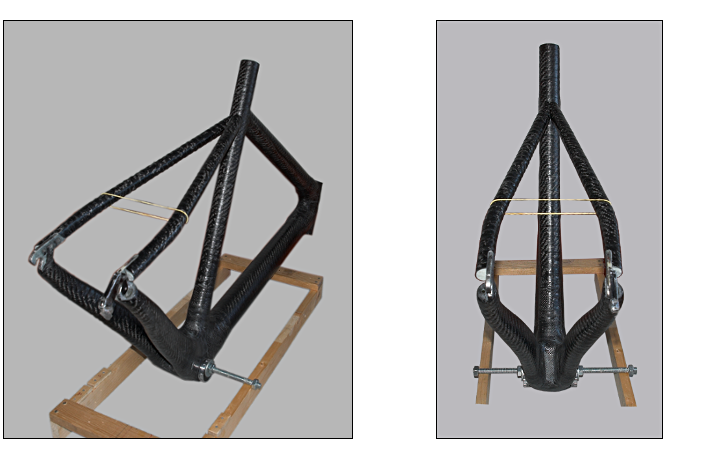
First, I joined chain stays and central BB shell tubes together. To secure each tube on the precise place I used simple wooden jig.
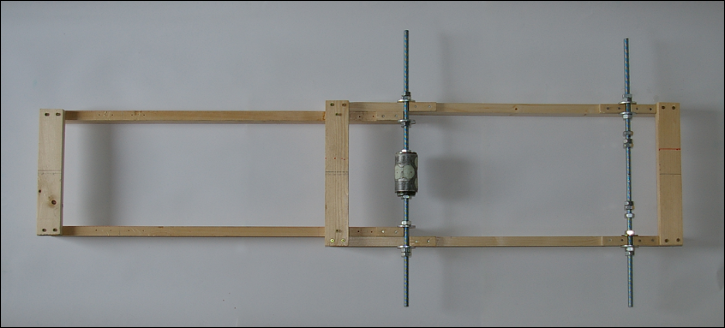
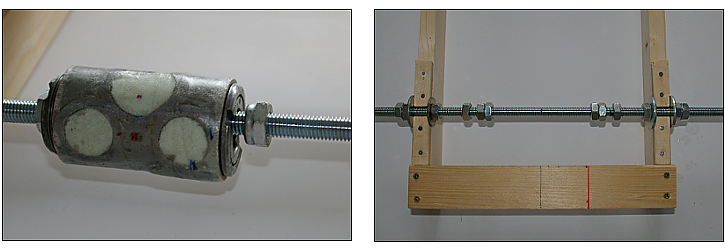
I placed two threaded rods with marked mean points into jig so that axial symmetry had been kept. I strung BB shell tube with central assembly on the first threaded rod and secured with two conical-shaped nuts. It is worth to note that I wrapped BB shell tube with one layer of fiberglass cloth to prevent galvanic corrosion. The second threaded rod with nuts 130mm apart hold chain stays construct.
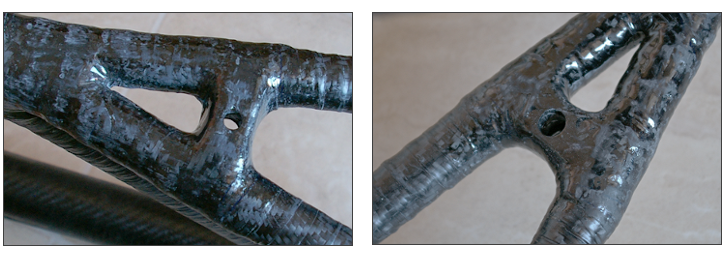
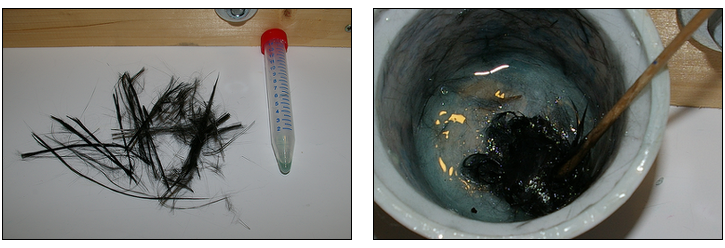
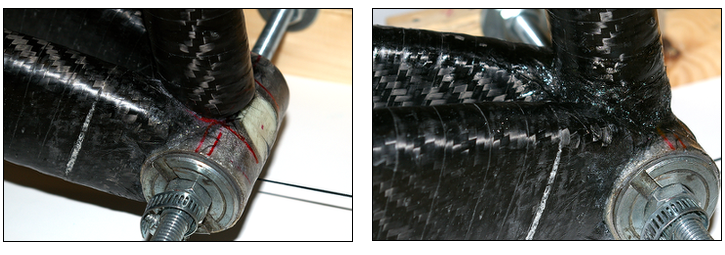
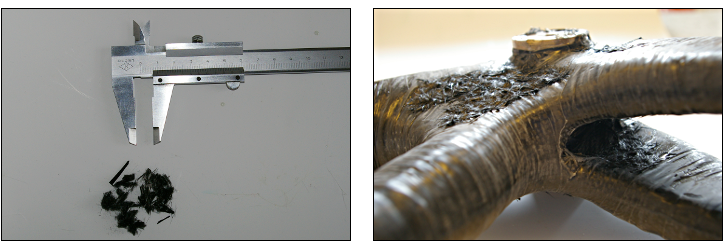
I attached tubes of chain stays to the BB shell tube by cutted pieces of carbon fibers mixed with epoxy. Length of the carbon fibers were within range of 1 to 6 cm. Mixing caused intercrossing the filaments through each other. I applied such a mixture on junctions of the frame. It turned out to be surprisingly strong glue. Strong enough to withstand gentle manipulation with the frame.
Finished chanistays-BB shell tube construct.

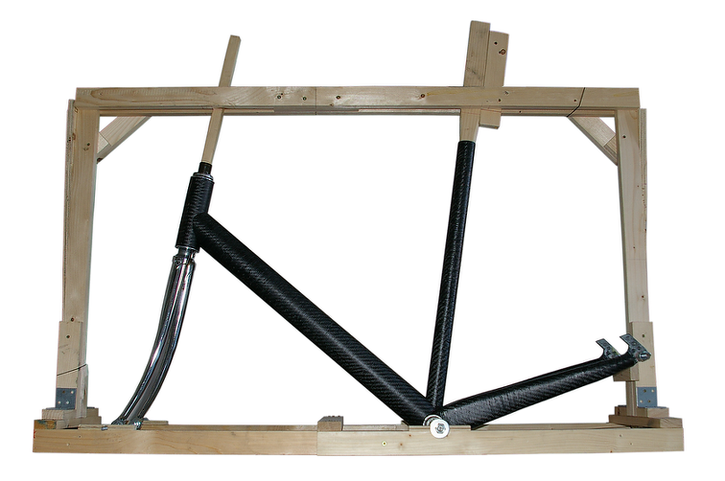
The next step I had to take was preparation of the second jig. I used first jig as a basis for the final one. Then, I placed the old metal frame into jig to keep dimensions for the new frame. As seen on the picture, I put the frame into jig so that fork got on the same level with BB shell threaded rod and thus chainstays raised up little bit.
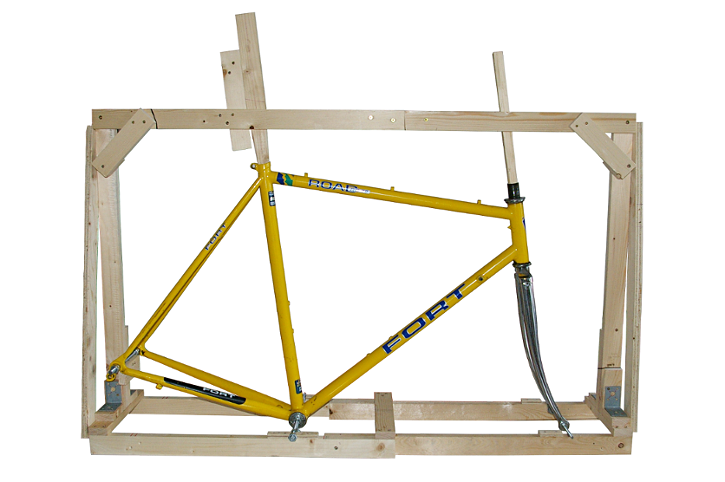
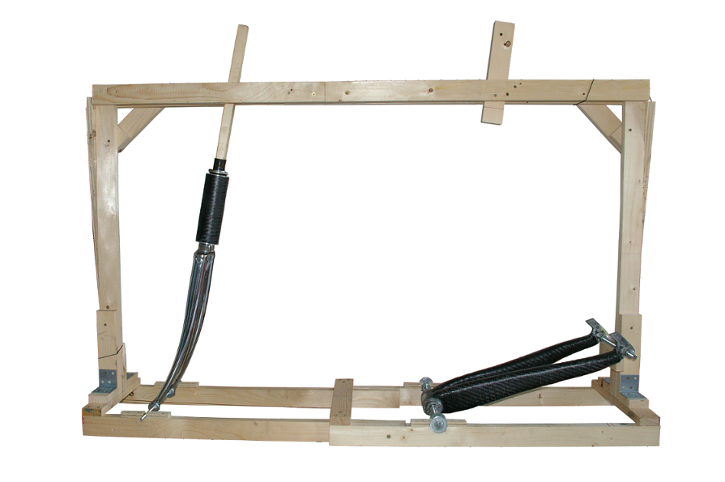
I strung head tube with head ball-bearings onto old fork that I mean to revert to carbon fork later and secured with appropriate head nut with upside down orientation. I inserted wooden wedge into fork and whole construct put into jig. I decreased angle to approximately 72.5°. Exact position was fixed later by second wooden stop. This way I could move fork what eased adjustment of the length of the bottom and top tubes, respectively. Then, I placed prepared chainstays-BB shell tube construct on the jig and fixed with nuts.
I shaped one end of the carbon seat tube with sandstone attached on the drill. The seat tube should sit perfectly on the BB shell tube. The opposite end of the tube I attached to the jig by wooden wedge. I used cutted carbon fibers-epoxy mixture to glue the bottom end of the seat tube to the BB shell tube.
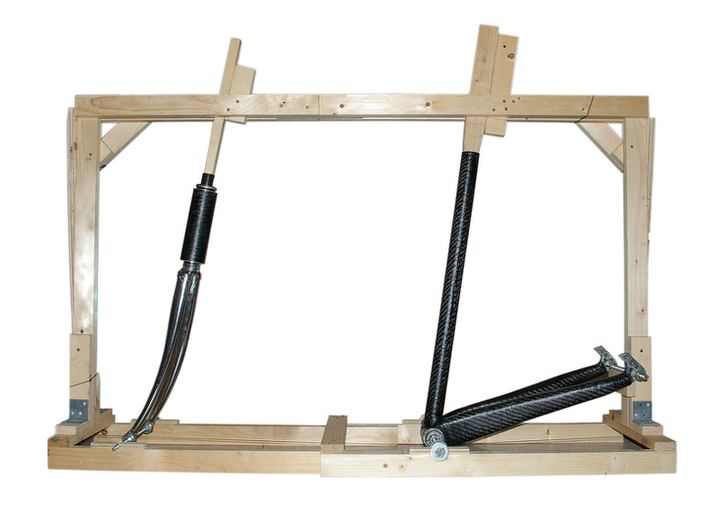
I used the same procedure in the case of the bottom tube...
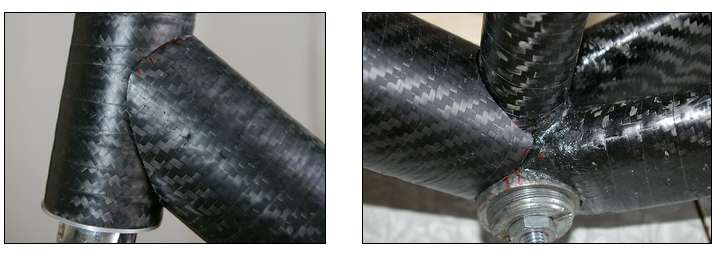
...as well as the top tube.
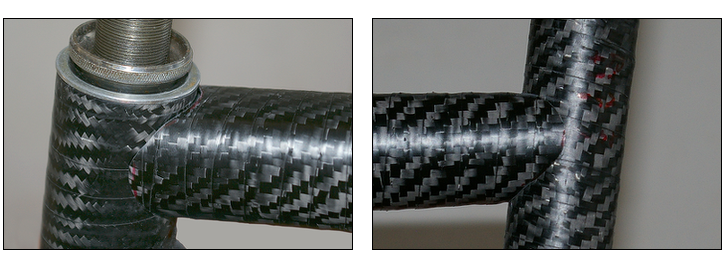
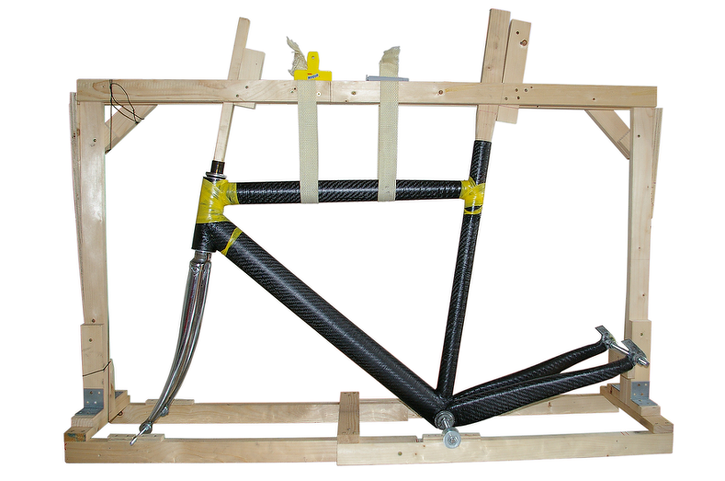
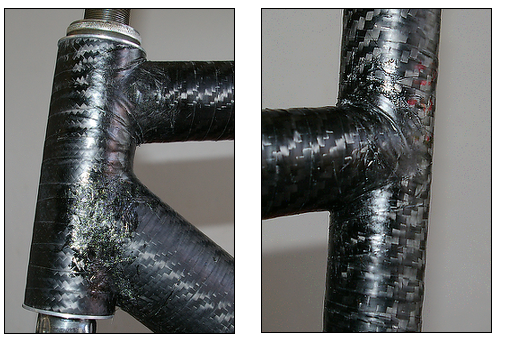
Junctions between top tube and head and seat tubes, respectively, I wrapped with perforated PVC tape. Junctions were clearly smoother and probably stronger as well. However, to look does not really matter so much as these junctions will be covered by layers of carbon cloth later.
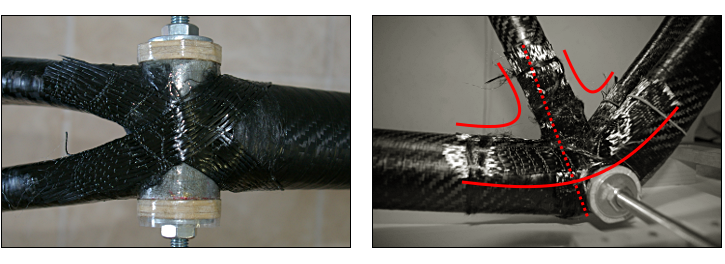
I secured BB shell tube by unidirectional carbon tape. I used the same tape to secure chainstays, seat and bottom tubes, respectively. Red lines illustrate direction of the tape. I placed these tapes without epoxy first. Then, I used carbon rowing to keep tape on the place and, finally, I wet the tape with epoxy and wrapped by PVC tape.
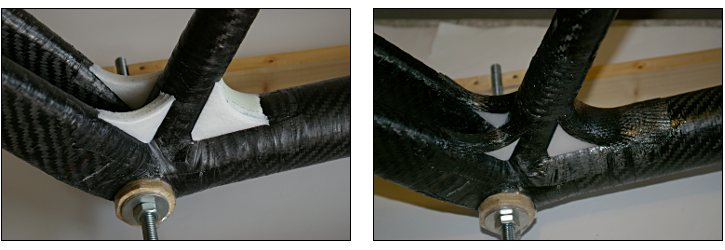
I prepared connectors from styrofoam. The function of these connectors is to make joints between carbon tubes smoother. I glued styrofoam connectors on tubes and top part of these connectors reinforced by carbon tape.
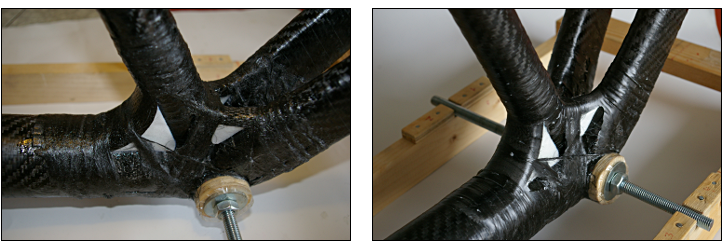
I tightened these tapes by carbon rowing, soaked with epoxy and joints wrapped by PVC tape. I let them dry until next day.
I prepared 5 cm wide strips out of two types of carbon cloths. I put them on plastic tablecloth one by one and wetted with epoxy mixture. I put together 4 layers at one time. All the layers I covered with plastic tablecloth and used trowel to get out excess of epoxy.
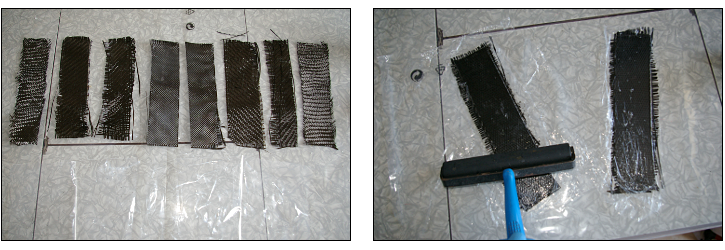
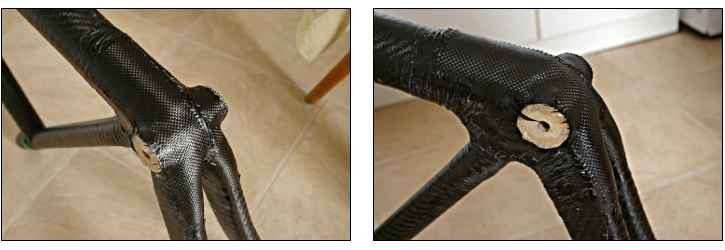
Carbon strips were laid sequentially onto connectors around the chainstays, bottom and seat tubes, and the bottom part of BB shell tube. Lateral part was covered by one stronger carbon cloth (seen later).
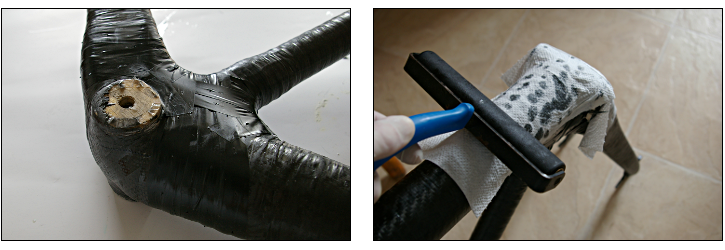
I wrapped the whole construct by PVC tape and paper towels. Trowel was pretty handy tool for pushing out excess of epoxy resin.
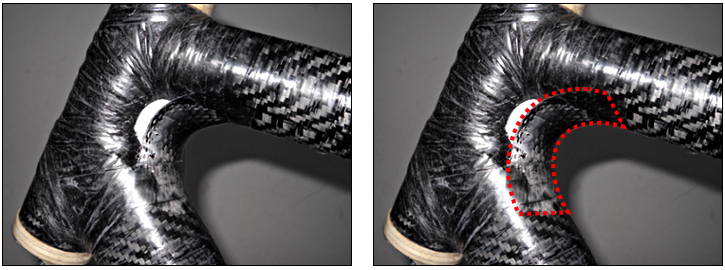
Bottom picture illustrates number and direction of layers around the BB shell. Lateral part is not perfect. I used cutted carbon fibers mixed with epoxy resin to fill in the cavities.
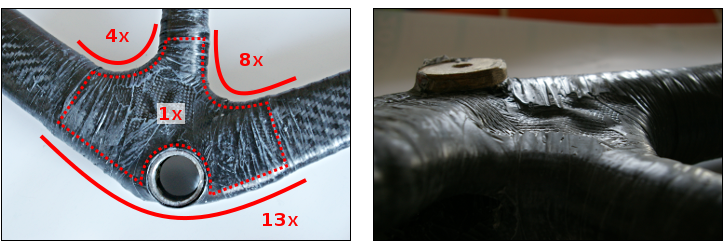
I prepared 1cm long carbon fibers, mixed with epoxy resin, applied on the particular sites and tightened with PVC tape.
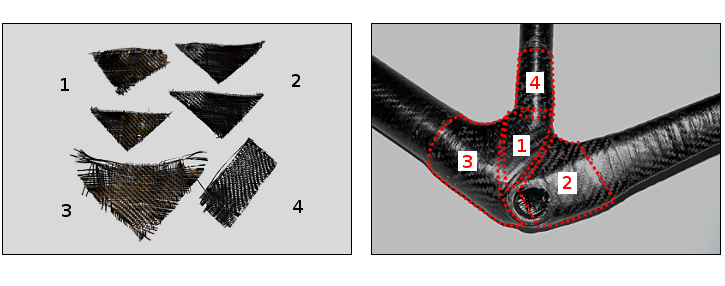
Pieces of carbon cloths used for wrapping BB-shell. The way of how I wrapped these pieces around the tubes is shown on the picture. In fact, pieces overlap each other.
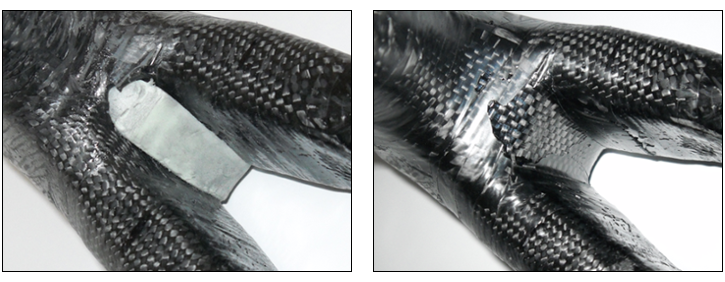
The space between BB shell and tubes of chainstays I filled with styrofoam and inserted two layers of stronger carbon cloths inside.
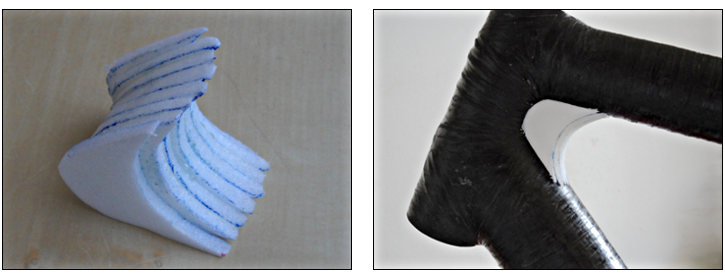
I glued couple of pieces of soft styrofoam together and sanded them to get appropriate shape. Resultant product I glued between head, top and bottom tubes.
To connect the top and bottom tubes through the head tube I used stronger carbon cloth.
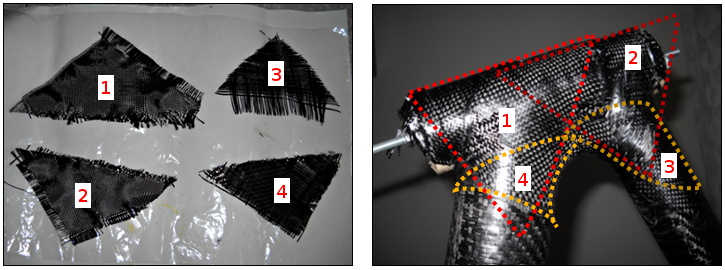
Then, I used triangular pieces of carbon cloths and placed them accordingly (picture below). All the pieces are overlapping each other. As usual, I tightened the construct by tape and let cure overnight. I applied several layers by this way.
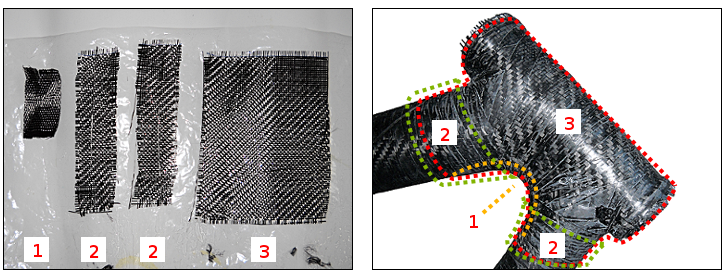
And again, I applied several layers of the carbon cloths with different shape. Total number of layers is still questionable as the work on this part of frame is still on progress. So, stay tune.
The seat stays were made as usually. First, I used four layers of carbon cloths, I will add four another layers latter. All ends were cutted accordingly to the final place.

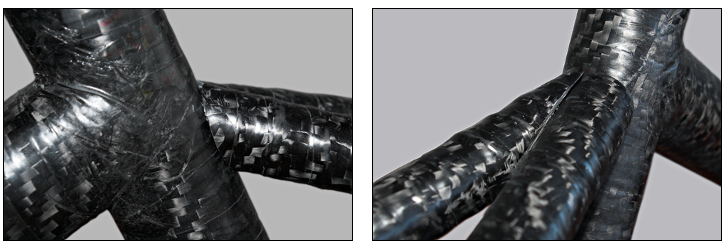
I put all the tubes to precise position, glued them together and secured.
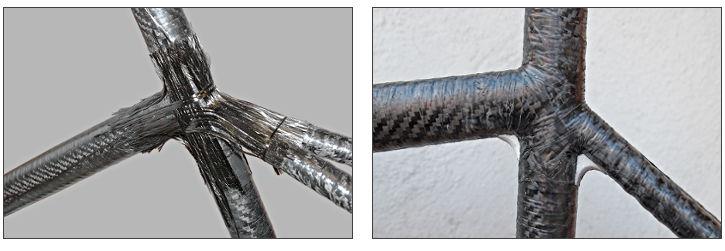
The joints were covered by carbon cloth, wetted by epoxide and cured. To get nice transition between tubes, I used styrofoam.
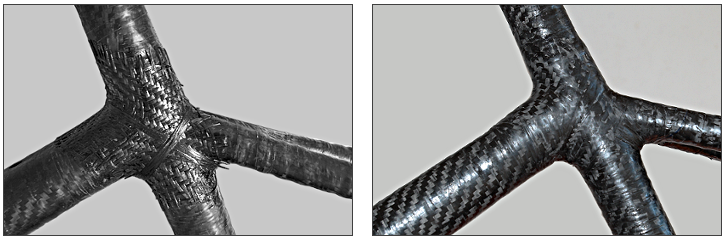
Finaly, I covered these joints by carbon cloth, wrapped with carbon fibers and wetted with epoxide. Procedure was repeated couple of times.
The empty space between rear tubes was filled by styrofoam, wetted with epoxide and covered by pieces of carbon fibers (not shown). Whole construct were wrapped by PVC tape. Ice-hockey puk suits perfect if you want to get nice rounded shape.
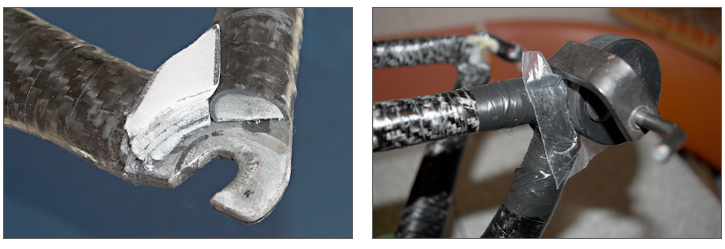
The break mount was prepared from styrofoam core and thin-wall tube. The tube was adjusted into appropriate shape and drilled small hole into it. The styrofoam core was wrapped by several layers of carbon cloth (approx 8) and one layer of fiberglass. Then, I put on the metal part and wrapped it by one layer of fiberglass cloth.
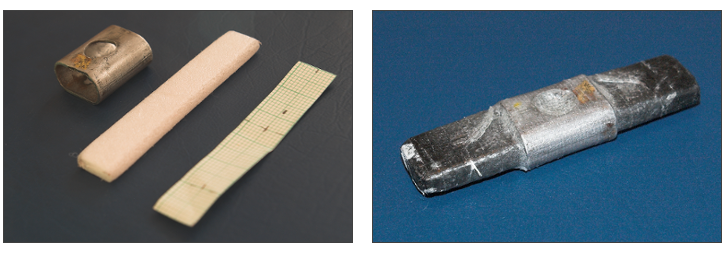
Margins of the mount were shaped to fit perfectly the seatstay and glued into place.
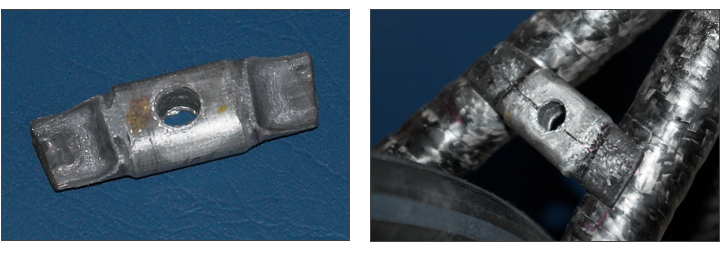
Reverse side of the mount was covered by several layers of carbon cloth and filled in with foam core.
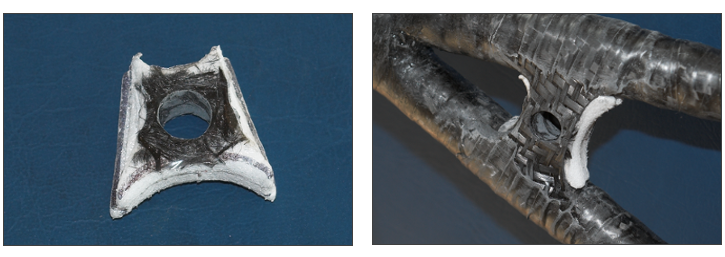
Whole mount was wrapped by several layers of carbon cloth. Inner part of the whole was covered by carbon fibers and sanded. So, the raw frame work is done.
